












01
White-label, under your brand
The editor carries your branding, not ours — your customers personalise and preview products in real time without ever seeing Fabrixa.


Fabrixa Studio is a white-label customiser you embed in your product page as an iframe. Your customers create or upload their own designs and preview them live on the product — the editor carries your branding, not ours, so they never see Fabrixa. When they’re done, you place the order against the saved customisation by reference — no artwork files to upload or store.
This is the exact editor you would embed — open it, drop in artwork and design a real product from our catalog. Nothing to install, no account needed.
It’s the same editor your customers design in through the Shopify and WooCommerce modules or the API. This page is a live try-out — ordering happens on the platform once you register.
Studio embedded in a storefront — a design library, text, shapes, image and layer tools, and a live repeat preview on the product. It runs white-label, so your customers see your shop, never Fabrixa.
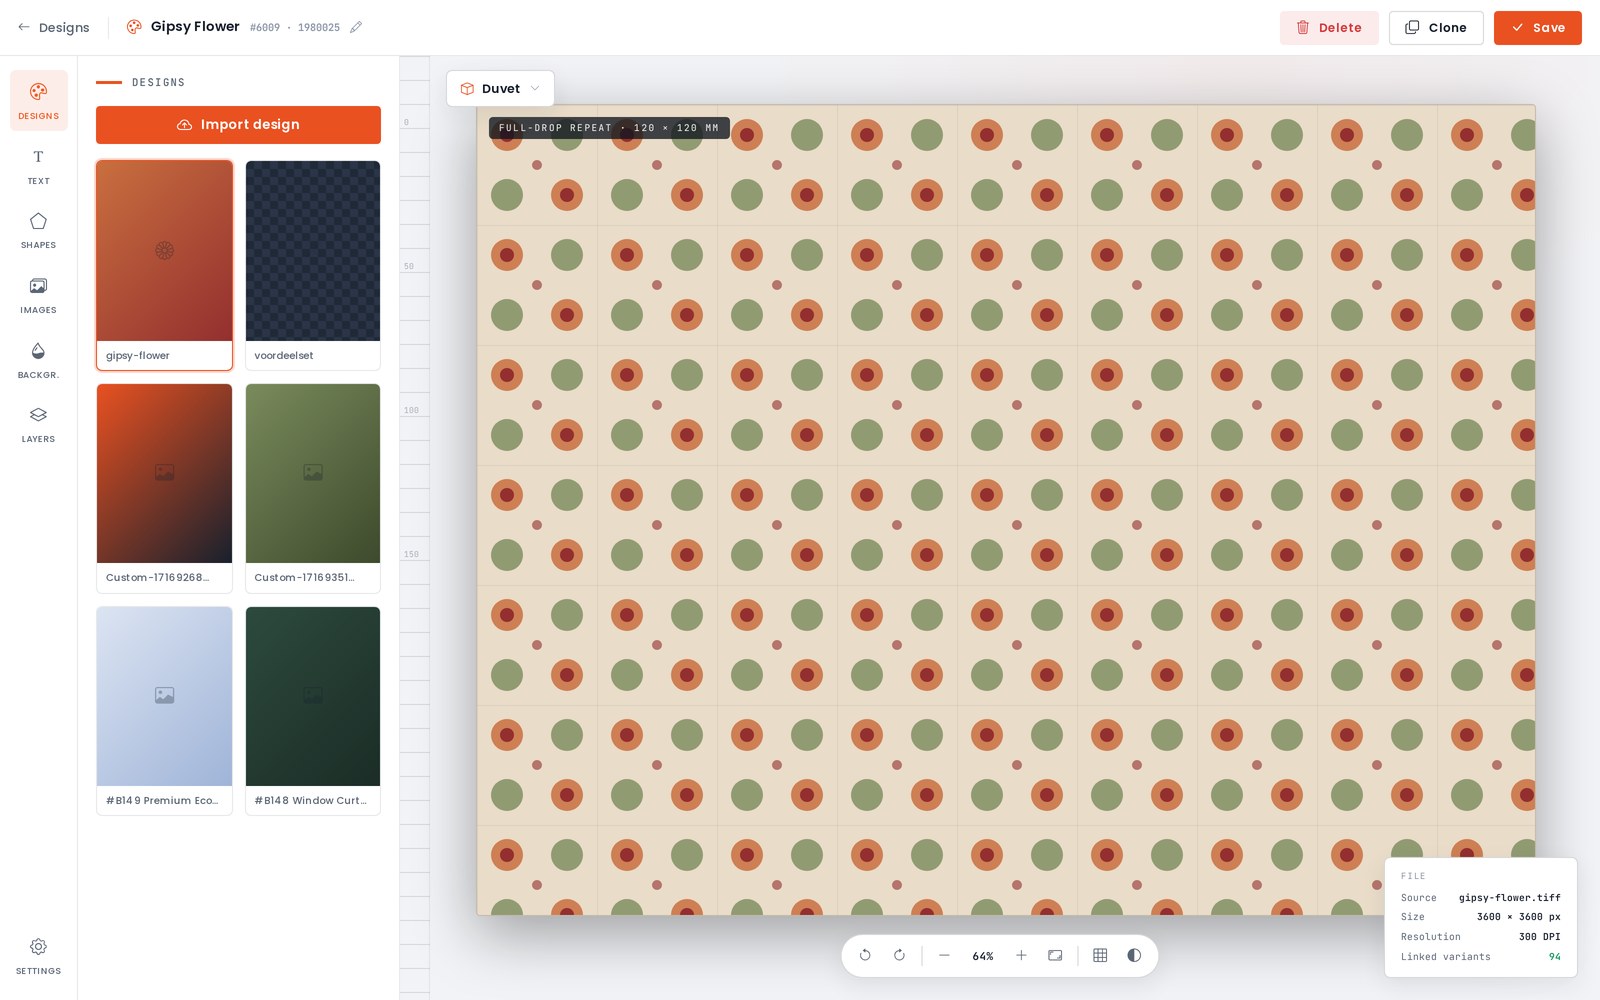
Studio lets your customers personalise products in real time — create a design or upload their own — and see it on the product before they buy, all under your branding.
The editor carries your branding, not ours — your customers personalise and preview products in real time without ever seeing Fabrixa.
They build a design inside Studio or upload their own artwork, then position it on the product in the editor.
Studio renders the design on the actual product, so customers see what they’ll receive before they add it to the cart.
Each customisation is stored against a cart_item_key you supply — one unique value per cart line on your side.
Pull a rendered preview image for any cart_item_key to show in the cart, the order summary, or anywhere in your shop.
You never touch artwork files. Reference the cart_item_key on the order and Fabrixa attaches the saved design automatically.
Selling on Shopify or WooCommerce? Studio is built into those store modules — switch it on, no code required. For custom storefronts and platforms, embed it yourself: Studio is served from studio.fabrixa.com and added with an iframe. Pass three values on the URL — everything else is handled inside the editor, which renders white-label under your branding.
application_key — your Application Key, scopes the embed to your sales channelsku — the product variant SKU, retrieved from the Integration APIcart_item_key — a unique value you generate per cart line; Studio saves the customisation against it<!-- Embed Fabrixa Studio on your product page --> <iframe id="fabrixa-studio" src="https://studio.fabrixa.com?application_key=APPLICATION_KEY&sku=COF099191&cart_item_key=CART_ITEM_KEY" name="FabrixaStudio" scrolling="no" frameborder="1" width="100%" height="100%" allowfullscreen> </iframe>
Studio posts two messages to the parent window. customizationFinished fires when the customer clicks Add to Cart; closeButtonClicked fires when they click Back. Listen for them on the parent and always verify event.origin.
When the customizationFinished event fires, add the line to your cart keyed by the same cart_item_key you passed into the iframe. That key links the line to the saved design.
window.addEventListener("message", (event) => {
  // Always check the origin first
  if (event.origin !== "https://studio.fabrixa.com") return;

  if (event.data === "customizationFinished") {
    // Add to Cart → store the line keyed by your cart_item_key
    addToCart(cartItemKey);
  } else if (event.data === "closeButtonClicked") {
    // Back → close the editor / restore the product page
    closeStudio();
  }
});
Once a customisation is saved, fetch a rendered image of it from the preview endpoint — just set it as the src of an <img>. Ideal for the cart, the order summary, or a confirmation page.
The preview is keyed by the same cart_item_key, with your Application Key on the query string.
<!-- Rendered preview of the saved customisation -->
<img
  src="https://api.fabrixa.com/v2/studio/customizations/CART_ITEM_KEY/preview?Application-Key=APPLICATION_KEY"
  alt="Customised product preview"
  style="max-width:100%;height:auto">
At checkout, POST the order to /v2/integration/orders from your backend. For a line a customer designed in Studio, send the usual sku and quantity plus the same cart_item_key you passed into the iframe. That key is the saved design, so no sources file is needed. Fabrixa pulls the customisation and puts it into production.
cart_item_key is the Studio reference — use it only for lines a customer customised in Studio. Every row carries either a cart_item_key (designed in Studio) or a file named sources (your own artwork: PDF, TIFF, JPG or PNG), never both. Everything else on the order is identical.
{
  "number": "NL2026063001",
  "purchased_at": "2026-06-30 12:00:00",
  "rows": [
    {
      "sku": "SB796162",
      "quantity": 1,
      "cart_item_key": "0cb76770-de2d-4524-aa48-47b6e5f0d8a5"
    }
  ],
  "customer":         { "first_name": "Maria", "email": "maria@example.com" },
  "shipping_address": { "...": "..." }
}
Studio and the preview endpoint use your Application Key, which is visible in the embed by design — it only scopes the editor and renders previews for your channel. Creating orders needs the Application Access Token as well, and that stays on your backend.
application_key on the Studio iframe URLApplication-Key on the preview image URLAuthorization: Bearer APPLICATION_ACCESS_TOKENX-Application-Key: APPLICATION_KEYPOST /v2/integration/ordersCreate a sales channel in your dashboard to generate the Application Key the embed authenticates with, then build and test against that channel before it takes real orders. There’s a live demo in the API reference where you can open Studio with your own SKU and key — pricing varies by volume tier, so talk to our team for specifics.
Fabrixa Studio is a white-label product customiser that merchants embed on their product page as an iframe. Customers create or upload their own designs and preview them live on the product, under the merchant's branding rather than Fabrixa's. The order is then placed against the saved customisation by reference, so no artwork file needs to be uploaded or stored.
Add an iframe pointing to studio.fabrixa.com and pass three values on the URL: application_key to scope the embed to your sales channel, sku for the product variant, and cart_item_key, a unique value you generate per cart line that Studio saves the customisation against. Everything else, including the editor's branding, is handled inside Studio.
Studio posts two messages to the parent window with postMessage: customizationFinished, which fires when the customer clicks Add to Cart, and closeButtonClicked, which fires when they click Back. Your page should verify event.origin before acting on either message, then add the line to the cart keyed by the same cart_item_key passed into the iframe.
Send the same cart_item_key you passed into the Studio iframe as a row on the order, along with the sku and quantity, when you POST to /v2/integration/orders. That key is the saved design, so no sources file is needed for that row — each order row carries either a cart_item_key or a sources file, never both.
Yes — the Application Key is visible in the Studio embed by design — it only scopes the editor and preview image to your sales channel and cannot place orders, read billing, or access another channel's data. Creating orders requires the separate Application Access Token as well, which stays on your backend and is sent as a Bearer token.
Create a sales channel to generate your keys and embed Studio today. Need a hand wiring up the events or the order flow? Talk to a solutions engineer — response within one business day.
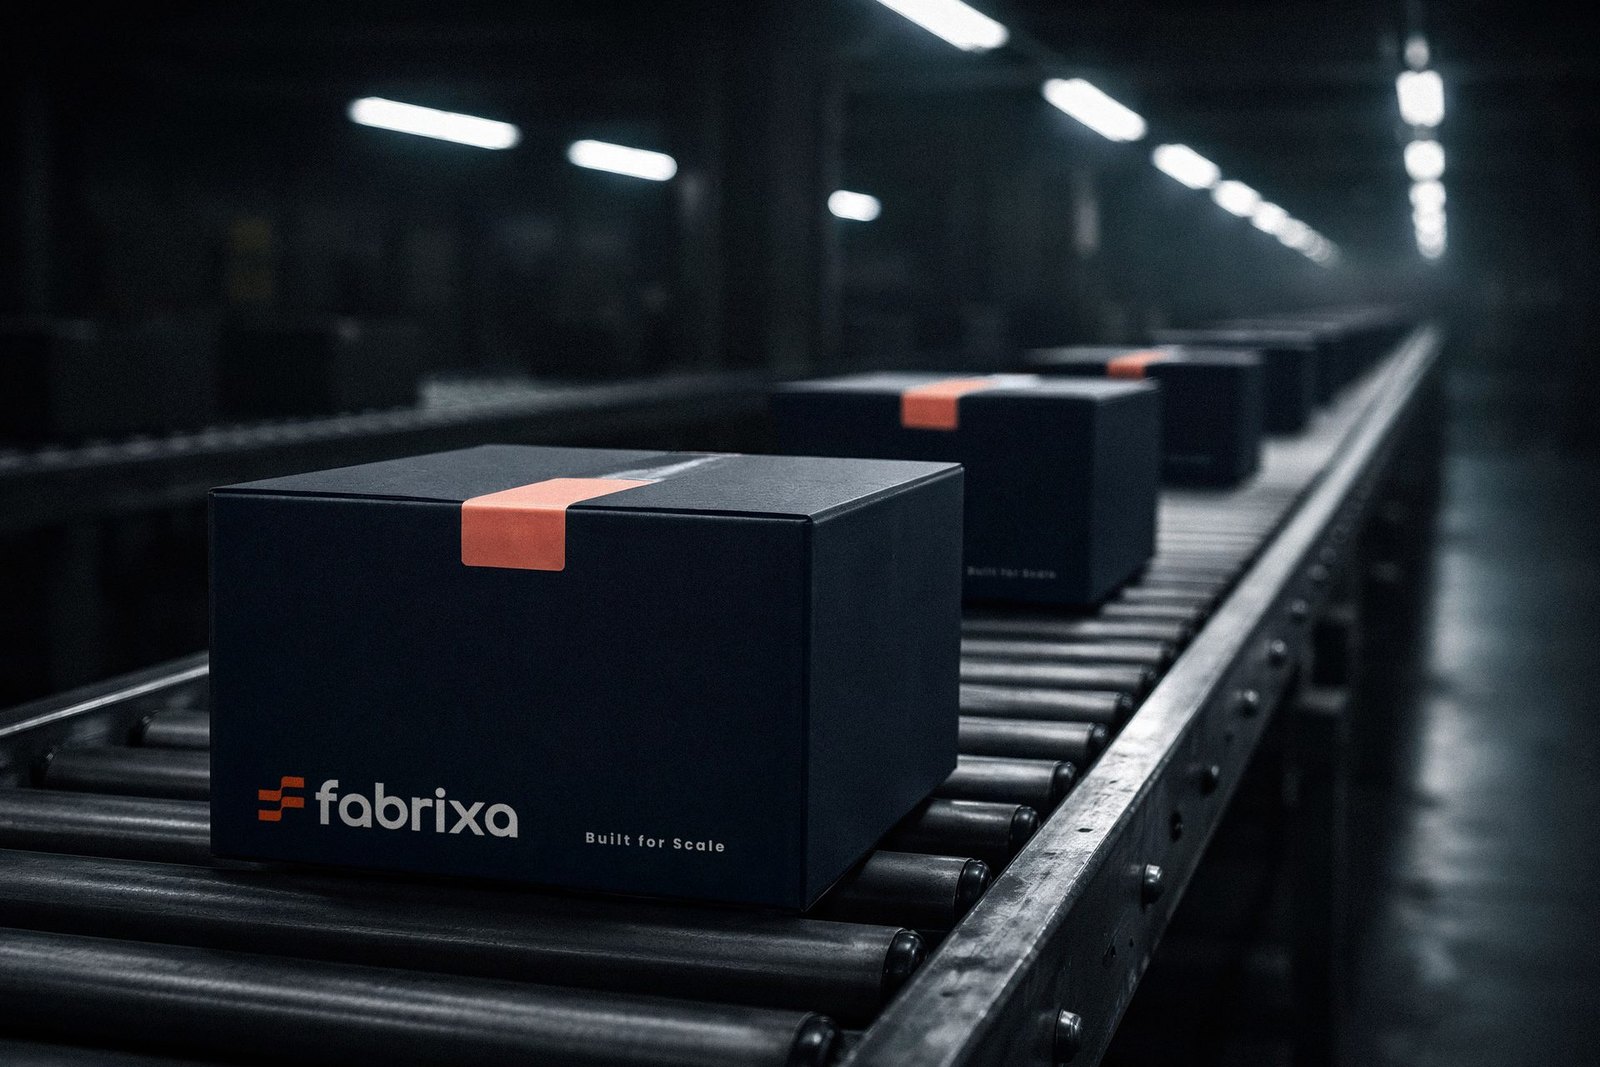
This is how it comes off the line — register to order it from a single piece, shipped white-label under your brand.
