A Fabrixa API request on screen — JSON order payload with auth headers, against woven textile
Developers · Integration guide

Auth to fulfilment in fifteen minutes.

Two ways to send orders to Fabrixa: connect the store you already run — Shopify or WooCommerce — with no code, or build directly on the Integration API. This guide covers both: connect a sales channel in minutes, or go from auth to fulfilment in fifteen.

No-code Shopify & WooCommerce · REST + JSON API · Two-header auth · 30 req/min

No code · Shopify & WooCommerce

Already selling on Shopify or WooCommerce? Connect in minutes.

Most stores never touch the API. Add Fabrixa as a sales channel and orders from your shop flow straight into production — products synced, statuses pushed back, no code to write or maintain. The API route further down is for custom storefronts and POD platforms.

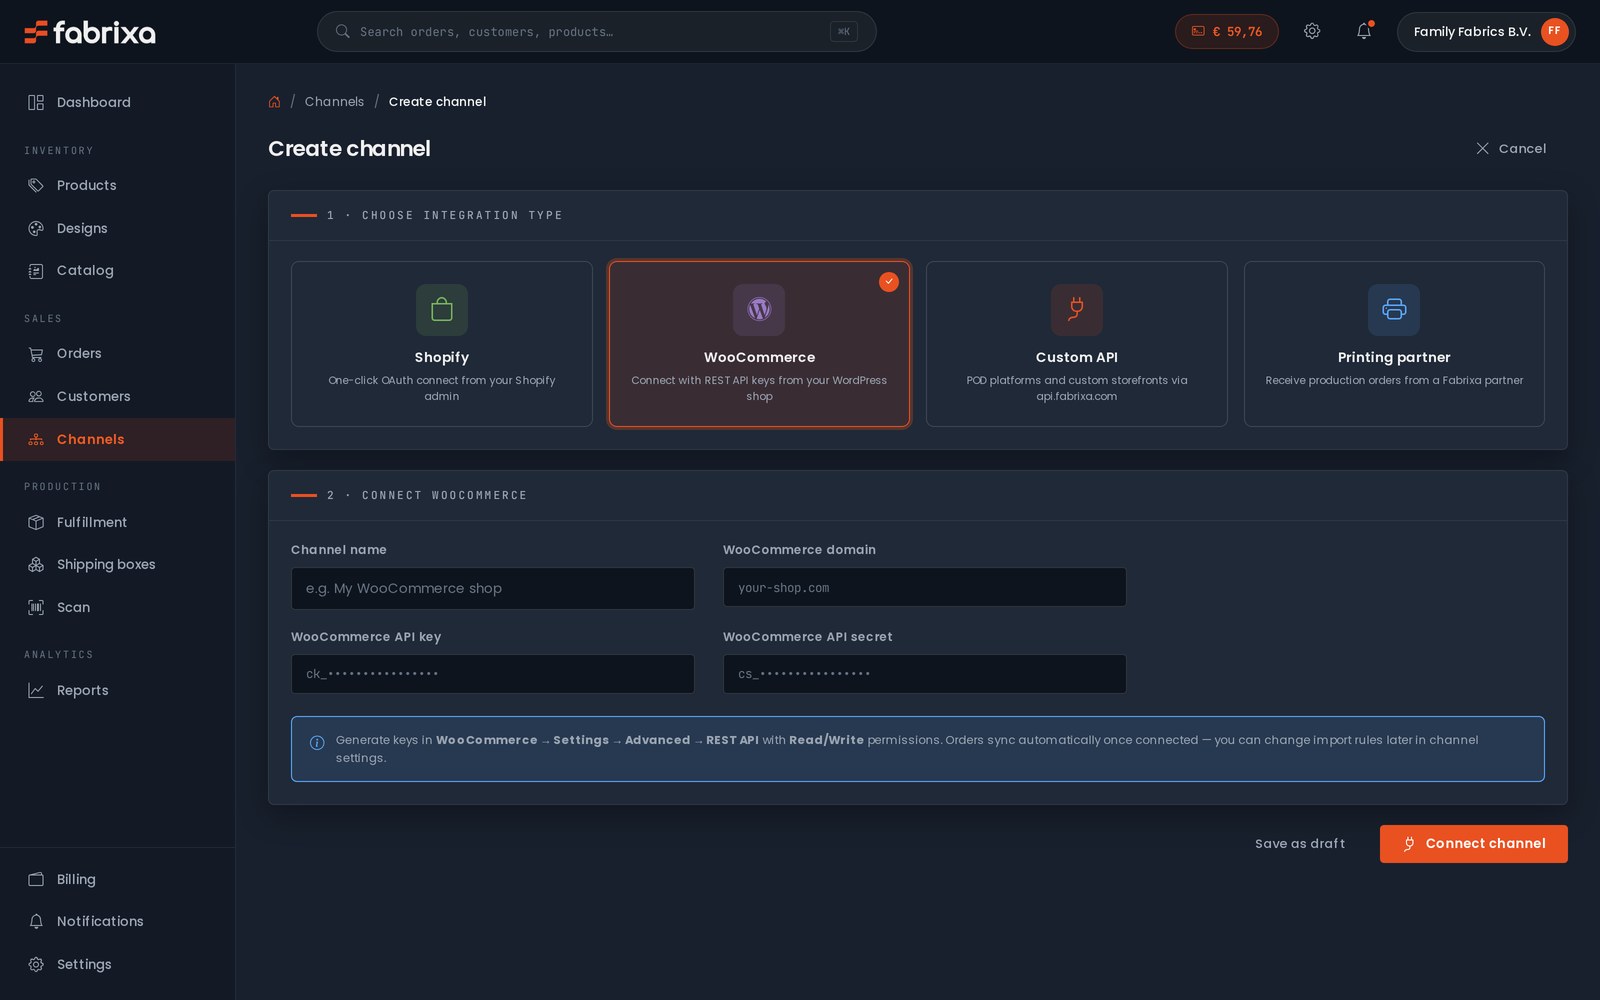
Create channel → pick how you sell

In your dashboard, open Create channel and choose your integration type. Each channel keeps its own products, imported orders and import rules — connect as many as you run.

  • Shopify — one-click OAuth from your Shopify admin
  • WooCommerce — connect with REST API keys
  • Custom API — POD platforms and custom storefronts via the Integration API
  • Printing partner — receive production orders from a Fabrixa partner
account.fabrixa.com/channels/create
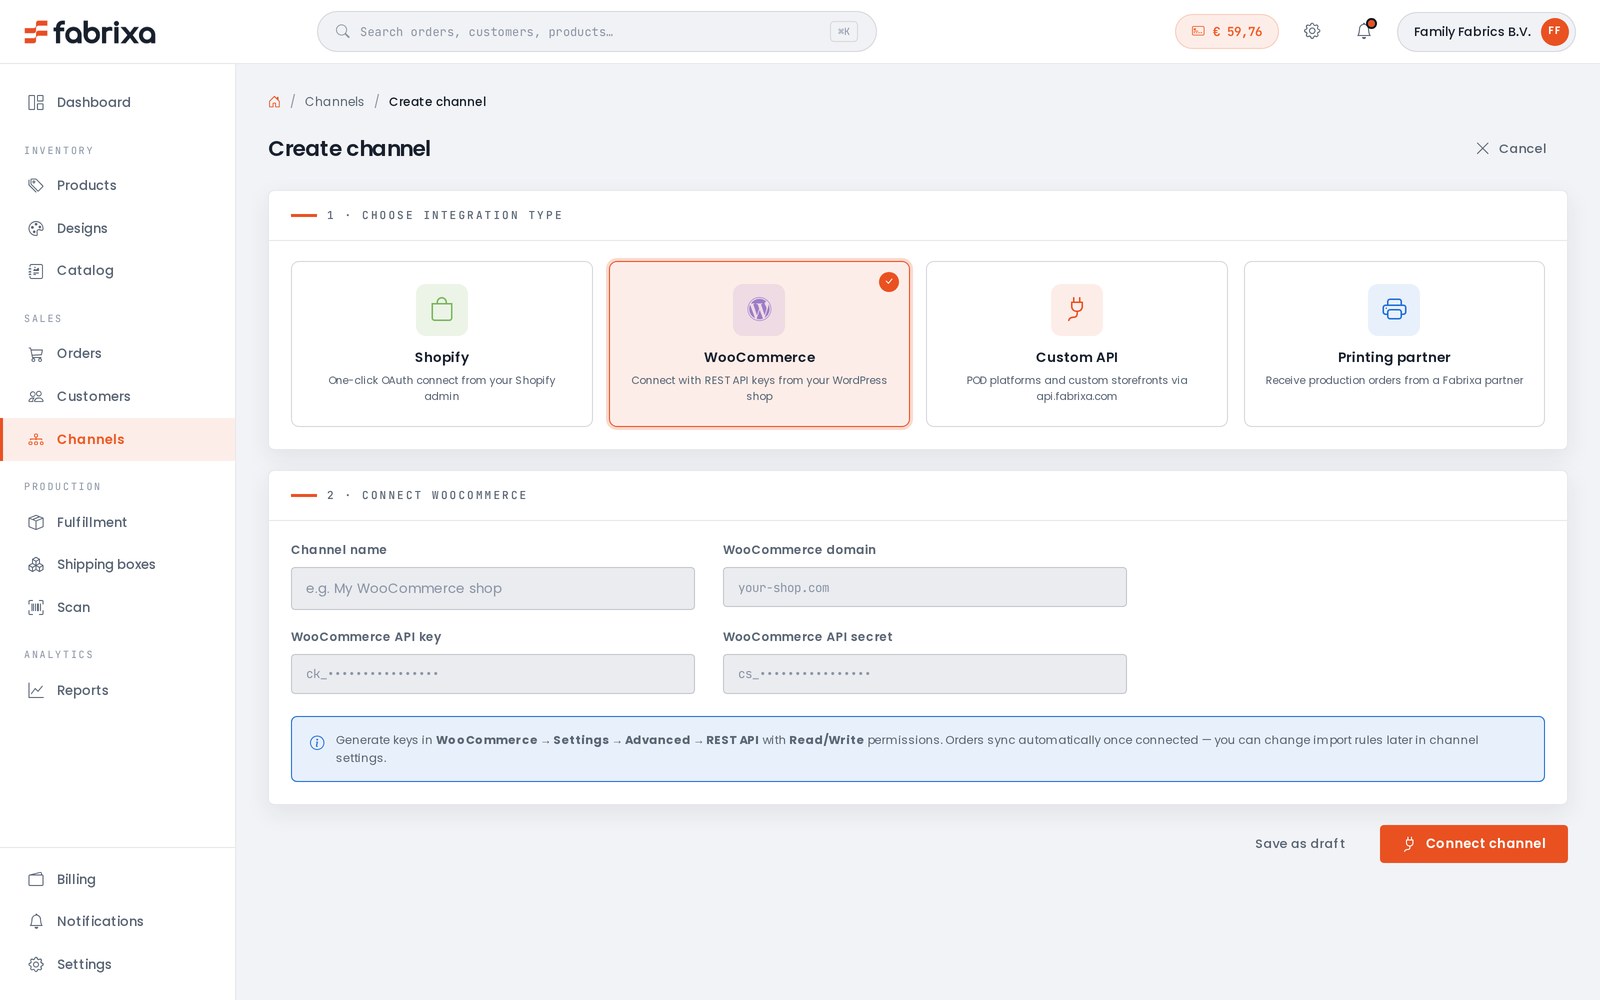
The Fabrixa create-channel screen — choosing an integration type: Shopify, WooCommerce, Custom API or printing partner, with the WooCommerce connect formThe Fabrixa create-channel screen — choosing an integration type: Shopify, WooCommerce, Custom API or printing partner, with the WooCommerce connect form
Shopify

One-click OAuth

No keys to copy. Authorise Fabrixa from your Shopify admin and the connection is live.

  1. In Create channel, choose Shopify.
  2. Approve the connection from your Shopify admin (OAuth) — no keys to copy.
  3. Products and orders sync automatically. Every new Shopify order imports into Fabrixa and goes into production.
WooCommerce

Connect with REST API keys

A WordPress shop connects with a read/write REST key pair — generated in WooCommerce, pasted into Fabrixa once.

  1. In WooCommerce: Settings → Advanced → REST API → Add key with Read/Write permissions.
  2. Paste the ck_ key, cs_ secret and your store domain into Fabrixa.
  3. Save — orders sync automatically once connected. Change import rules later in channel settings.

Selling customised products? Fabrixa Studio — the white-label design editor — is available on Shopify and WooCommerce stores too, so your shoppers personalise products under your brand. See Fabrixa Studio →

account.fabrixa.com/channels
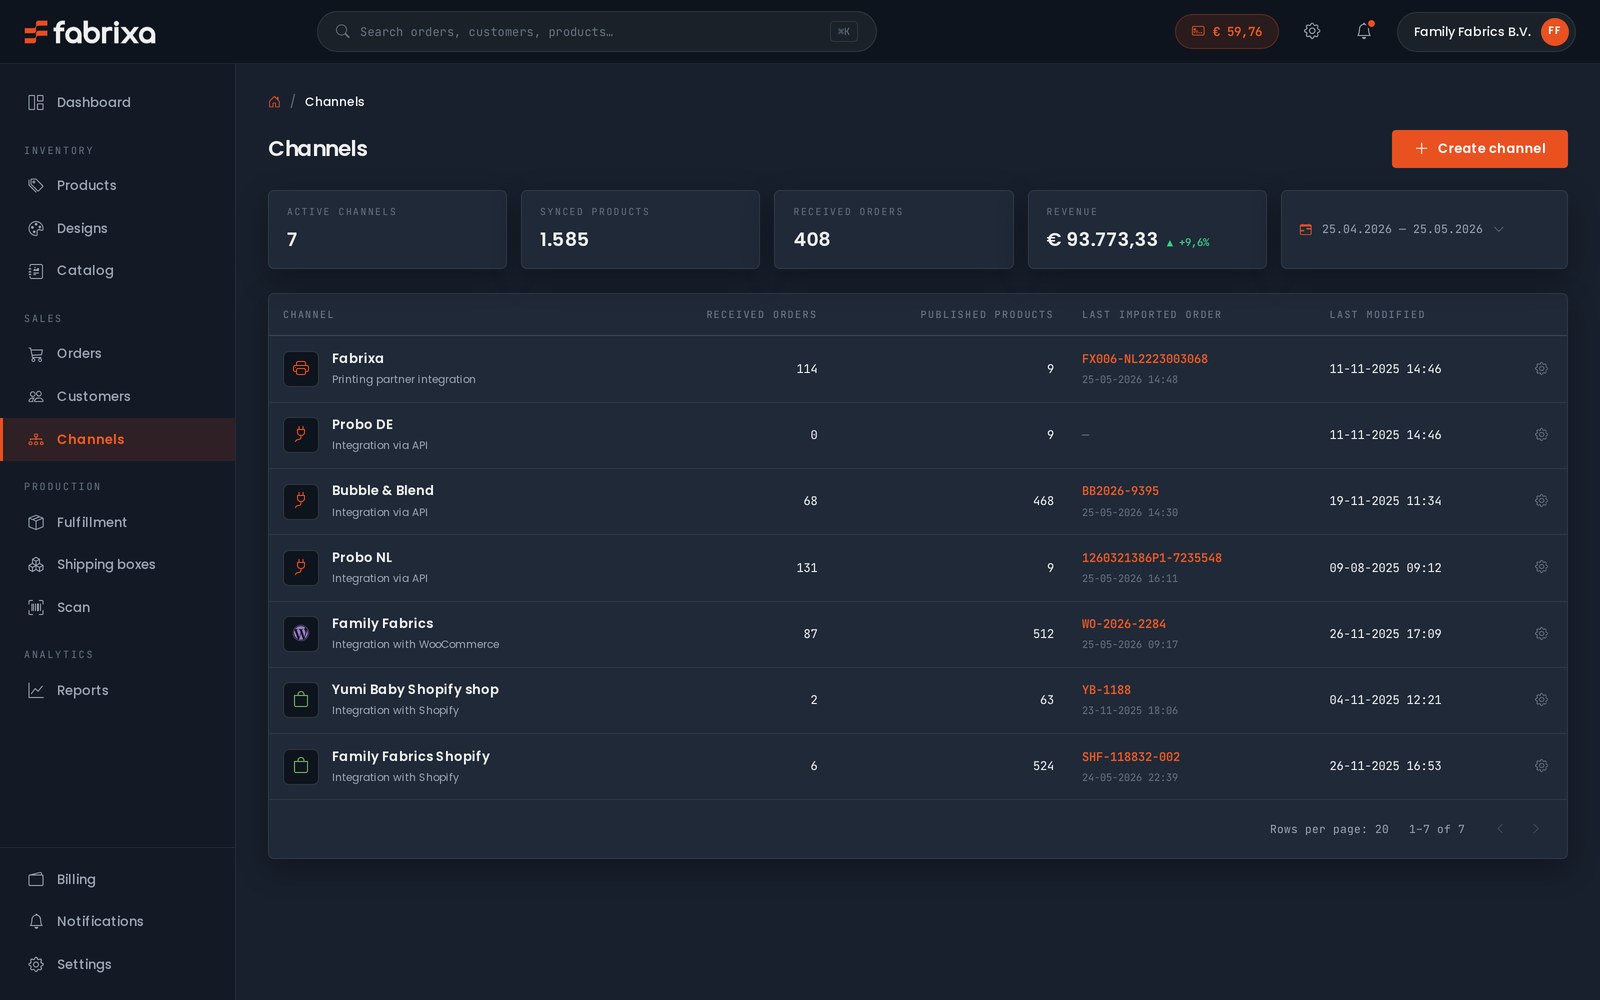
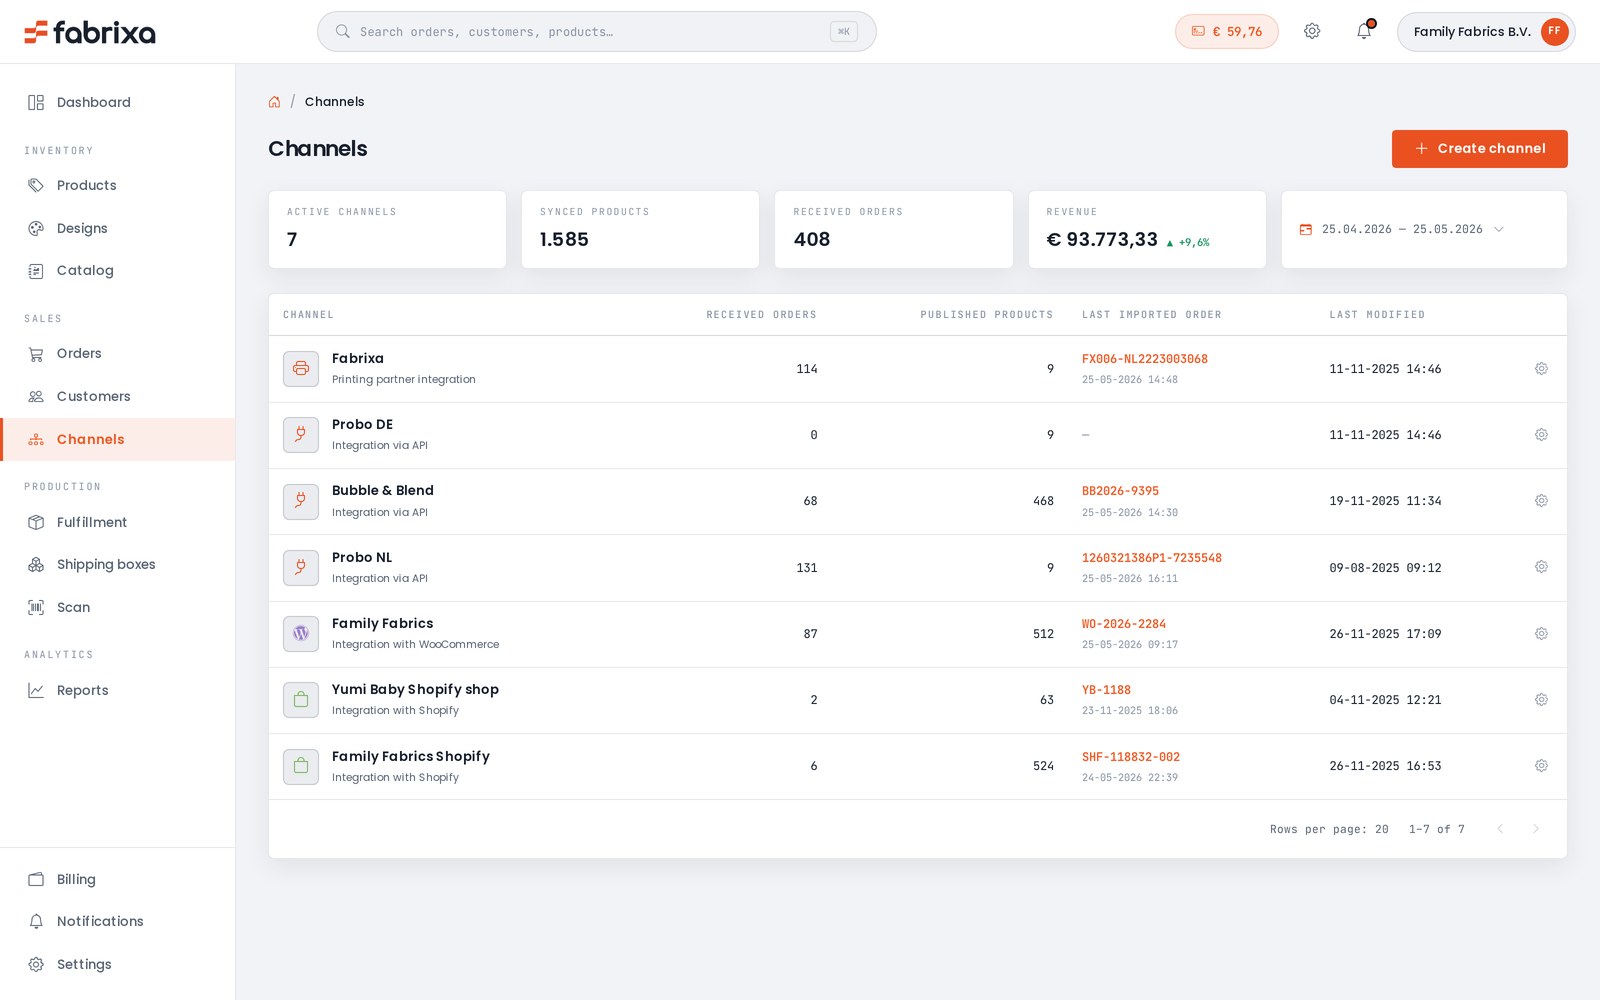
The Fabrixa Channels view — connected Shopify, WooCommerce and API sales channels side by side, with synced products, imported orders and revenue per channelThe Fabrixa Channels view — connected Shopify, WooCommerce and API sales channels side by side, with synced products, imported orders and revenue per channel
One dashboard

Every channel, every order, one view.

Connected stores sit next to your API and partner channels in the Channels view — synced products, received orders, the last imported reference and revenue per channel. Flip a channel from draft to live when you’re ready; nothing downstream changes.

Building a custom storefront or your own POD platform instead? The rest of this guide is the API route — auth to fulfilment in four steps.

Prerequisites

What you need before you start.

Three things get you from zero to a live order. All of them are issued from your Fabrixa dashboard or by your solutions engineer.

01
API credentials

An Application Access Token and an Application Key. Both are required on every request — the token in the Authorization header, the key in X-Application-Key. Create a sales channel in your dashboard to generate them instantly — no request needed.

02
Webhook endpoint

A publicly-reachable HTTPS endpoint that accepts JSON POST requests. Localhost works in development via a tunnel. You verify the HMAC-SHA256 signature on every payload before processing.

03
Artwork files

Your artwork file — PDF, TIFF, JPG or PNG — reachable over HTTPS without authentication. RGB colour, up to 50 MB and 15,000 px per side. Multi-page PDFs are one page per layer. We fetch the file and build the correct print files when we render the job.

Step 1 — Authenticate

Verify your credentials with a ping.

Every request goes to the base URL https://api.fabrixa.com/v2/integration with both headers set. GET /ping confirms the token and key are valid before you do anything else.

A 401 means a header is missing or the token has been revoked. A 403 means the credentials are valid but lack permission for the resource.

GET /v2/integration/ping
# Verify auth before anything else
curl https://api.fabrixa.com/v2/integration/ping \
  -H "Accept: application/json" \
  -H "Authorization: Bearer APPLICATION_ACCESS_TOKEN" \
  -H "X-Application-Key: APPLICATION_KEY"

# 200 OK   → credentials valid
# 401      → missing header or revoked token
# 403      → valid, but no access to the resource
Step 2 — List products

Find the SKUs available to your account.

The catalogue returns product variants with their SKU and variant_id. Every list response is wrapped in the standard links / meta / data envelope, so paginate with the next_page link. Cache locally — the catalogue isn’t per-request.

Full field detail is in the Swagger reference.

GET /v2/integration/products
GET /v2/integration/products?page=1

{
  "links": {
    "self":      ".../products?page=1",
    "next_page": ".../products?page=2",
    "prev_page": null
  },
  "meta":  { "total": 248, "current_page": 1, "per_page": 10 },
  "data": [
    { "id": 1306, "name": "Unisex AOP T-shirt", "SKU": "COF099191" }
  ]
}
Step 3 — Place an order

One POST puts the order into production.

Send rows (SKU + quantity + a source PDF), customer and shipping_address. Set your own number as the reference — omit it and we generate one. Store the returned Fabrixa order id against your order.

Studio orders swap sources for a cart_item_key — everything else is identical.

POST /v2/integration/orders

{
  "number":       "ORD-2026-0142",
  "purchased_at": "2026-05-28 14:22:01",
  "rows": [
    {
      "sku":      "COF099191",
      "quantity": 1,
      "sources": [
        { "type": "file", "url": "https://cdn.you.com/art/9812.pdf" }
      ]
    }
  ],
  "customer": {
    "first_name": "Maria", "last_name": "Silva",
    "email": "maria@example.com", "phone": "+351912345678"
  },
  "shipping_address": {
    "address": "Rua do Carmo 42", "city": "Lisboa",
    "postal_code": "1200-094",
    "country_code": "PT", "country": "Portugal"
  }
}
Step 4 — Webhooks

Stay in sync with the order lifecycle.

Set your webhook URL in the dashboard. We POST order.created and order.updated to it with the full order body, an x-webhook-signature (HMAC-SHA256) and an x-webhook-topic header. Verify the signature, return 200 fast, process asynchronously.

Every event and the verification snippets are on the webhooks reference.

POST → your endpoint
# Request headers
content-type:       application/json
x-webhook-topic:    order.updated
x-webhook-signature: YmEwNjBhMGMy...AxMw==

# Body (truncated)
{
  "id": 23069,
  "number": "1250211835",
  "status": "imported",
  "fulfillment_status": "unfulfilled",
  "updated_at": "2026-05-28T07:43:52Z"
}
Errors & rate limits

What to expect when things go wrong.

Errors come back as JSON, never HTML. The errors.messages array names what failed; on a 400 it lists the fields that didn’t validate.

400 / 401 / 403 / 404

Validation error, missing or revoked credentials, insufficient permission, or unknown resource.

429 Too Many Requests

30 requests per application per minute. X-RateLimit-Limit and X-RateLimit-Remaining are on every response.

5xx

Server-side. Retry with back-off; if it persists, send the request id to your solutions engineer.

Error response
{
  "links": { "self": ".../v2/integration/orders" },
  "meta":  [],
  "errors": {
    "messages": [
      "Application Key is not specified."
    ]
  }
}
Stuck?

Talk to a solutions engineer.

For integration support, credential or sales-channel issues, custom requirements or capacity planning — the technical SE channel, not the sales line. Response inside one business day.