




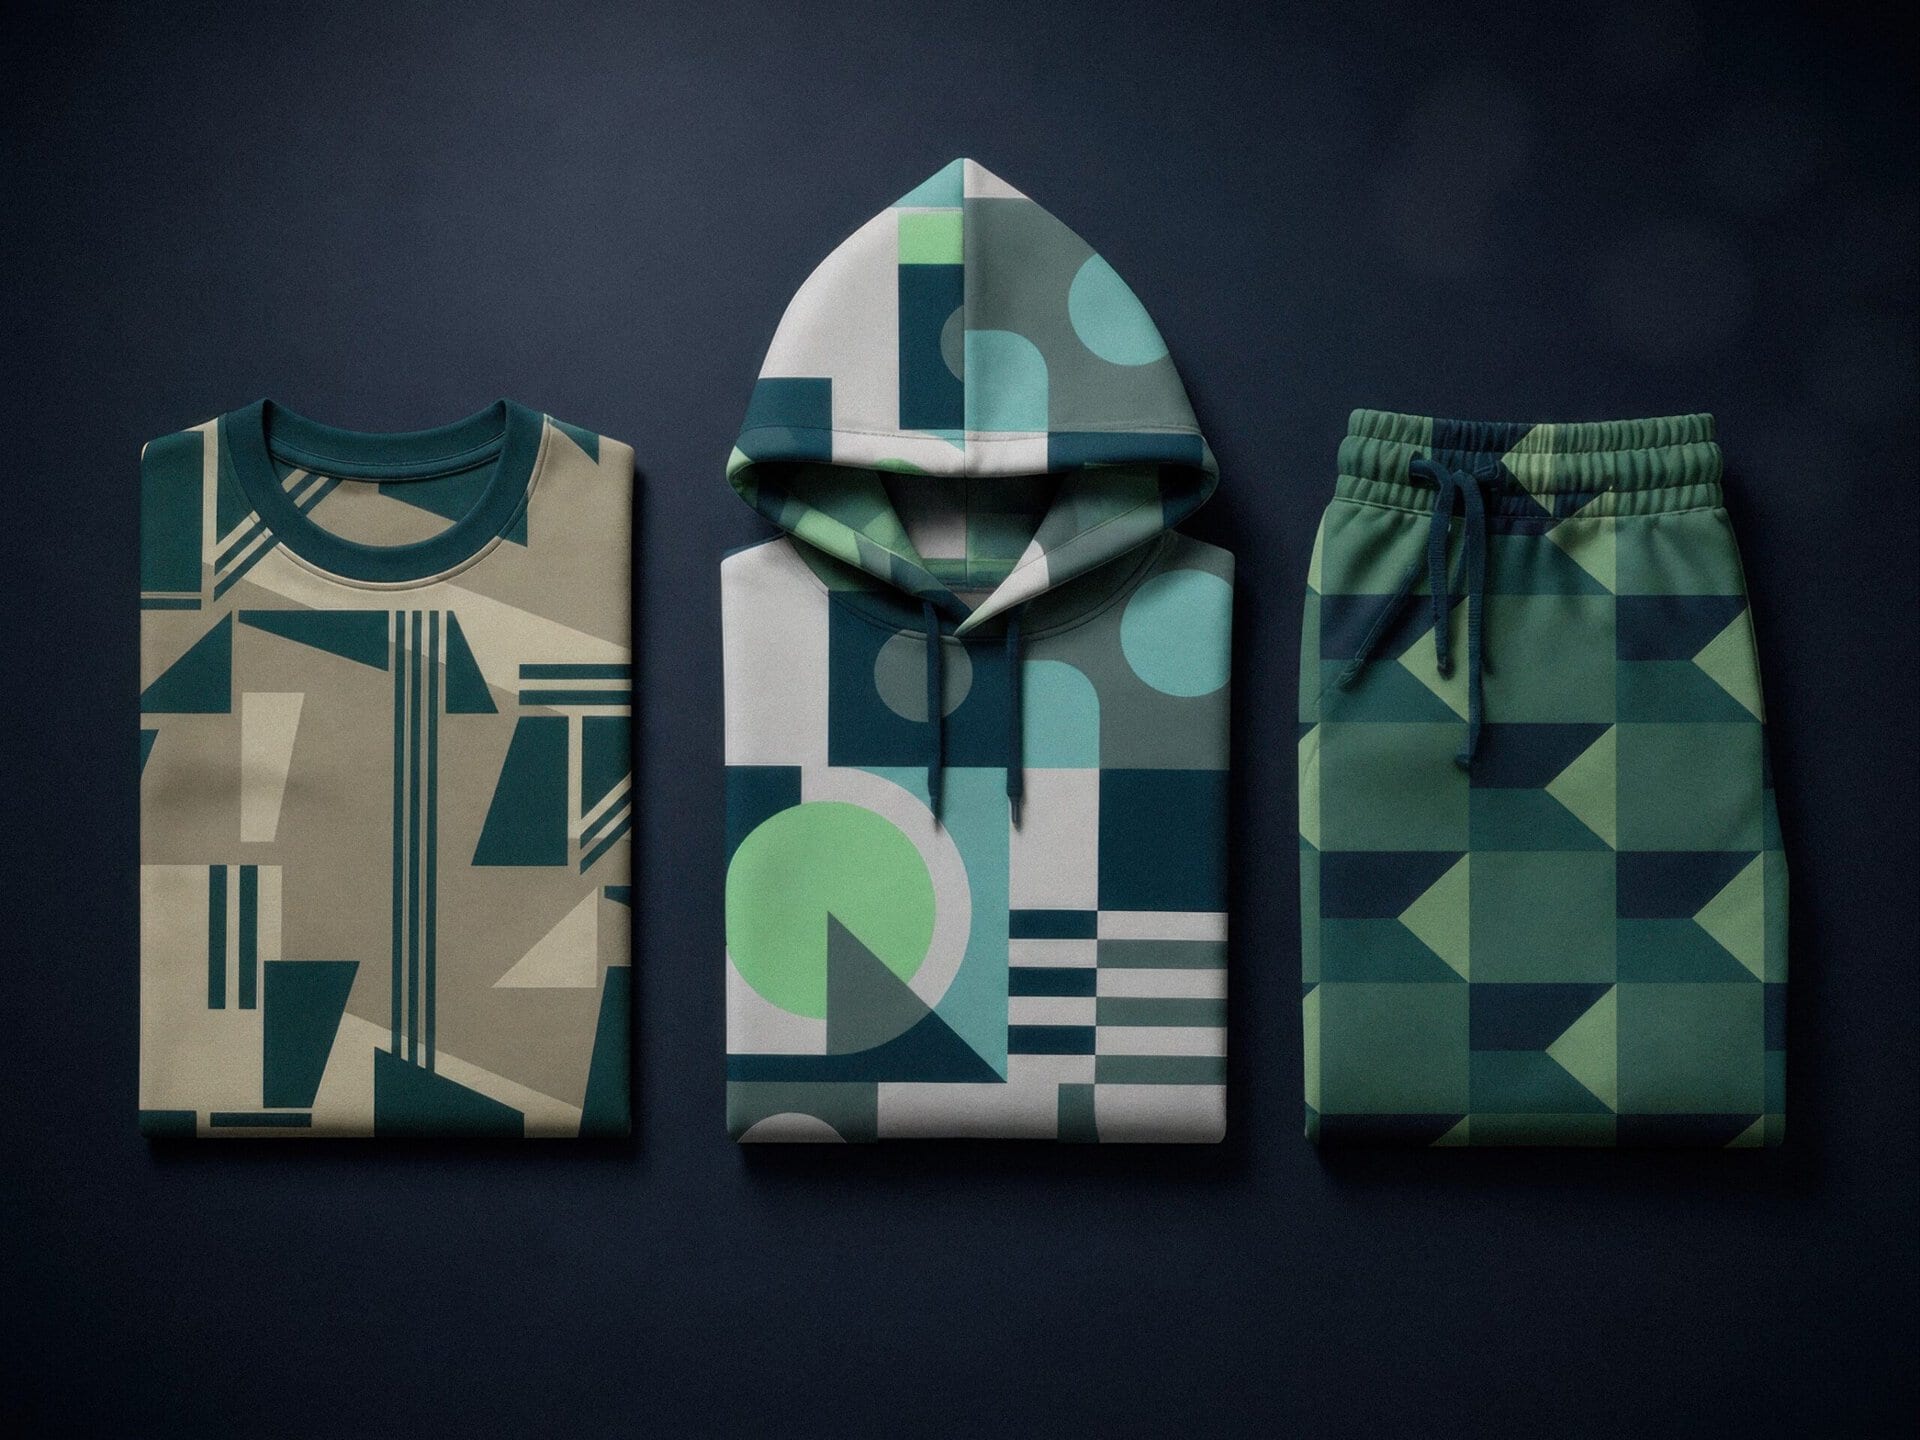
Placed print sits in one defined area of a finished garment — a chest logo, a back graphic, a motif on a pocket. All-over print (AOP) is printed onto the fabric panel before the garment is cut and sewn, so the design runs edge to edge across front, back, sleeves and hood, with no blank panels and no print zones. The placed print vs all-over print decision comes down to one question: is your artwork a mark on the product, or is it the product itself?
Everything else follows from that difference in the order of operations. You are either printing a garment, or printing the cloth a garment is cut from.
The difference is when the printing happens
Placed print
The garment already exists. Artwork is applied to a finished piece, inside a printable area that the garment’s shape allows. That area has edges: a design can’t run over a seam, into a sleeve or off the hem, because the process needs a flat, accessible panel to work on. Most logo hoodies, uniforms and event merch are placed prints, and the constraint rarely matters — a chest logo wants to be a chest logo.
All-over print
The fabric is printed first, on the roll — around 150–200 cm wide — and the garment is cut from the printed cloth afterwards. There is no print zone to design around, because there is no finished garment yet. Our guide to all-over print walks through the full process.
Placed print vs all-over print: the practical comparison
| Placed print | All-over print | |
|---|---|---|
| When it’s printed | Onto a finished garment | Onto the fabric panel, before cut-and-sew |
| Coverage | One defined area, inside a print zone | Edge to edge — front, back, sleeves, hood |
| Seams and edges | Design stops short of them | Design continues across them |
| What you design | A graphic at a fixed size | A full panel at garment scale, around 200–300 DPI on the finished piece |
| Repeat patterns | Not applicable | Needs a seamless repeat if the design tiles |
| Hand-feel | Depends on the method — pigment and DTF leave a detectable layer | With reactive dye, identical to unprinted cotton across the whole piece |
| Typical use | Logos, slogans, merch, workwear | Fashion drops, statement pieces, home textiles, fabric by the metre |
When each one is the right call
Choose a placed print when the artwork is an identifier rather than the design — a wordmark, a badge, a team crest, a slogan across the back. The garment is the canvas and the graphic is the message. It also suits ranges where one artwork sits on many products without being redrawn each time.
Choose all-over print when the pattern is the reason someone buys the piece: repeating florals, painterly abstracts, photographic panels, anything that should wrap the body rather than sit on it. It’s also the only sensible route for home textiles — a duvet cover with a rectangle of print in the middle isn’t a product anyone wants — and for apparel ranges where the print is the collection.
The option most brands miss
Because all-over print is designed at panel level, “placed” becomes a design decision rather than a production limit. Put a single graphic exactly where you want it on the panel and leave the rest as flat base colour. Because there’s no finished garment to work around, it can cross a seam, wrap the hem or run half onto a sleeve — none of which is possible once a garment has been sewn.
There’s a second advantage on cotton: reactive dye bonds inside the fibre rather than sitting on the surface, so there’s no patch to feel and nothing to crack at the fold.
The trade-off is honest work. A panel-level file takes longer to prepare than a single logo, and what looks balanced flat doesn’t always land the same way on a body. Sample the piece before you scale it.
What this means for your artwork
- Send what you have. Artwork comes to us as PDF, TIFF, JPG or PNG, and we create the correct print files for the panel and the base you’ve chosen.
- Design at finished size. Around 200–300 DPI at the scale the artwork appears on the garment, not at the size it looks good on screen.
- Only tiling designs need a repeat. A single panel-scale illustration doesn’t have to tile; a pattern that runs continuously across the cloth does.
- Let customers place it themselves. If personalisation is part of the offer, Fabrixa Studio embeds in your storefront as an iframe so shoppers position their own artwork, under your branding.
- Test one before you commit. MOQ 1 means a single piece, with no setup fee, is a legitimate way to check a decision.
Frequently asked questions
Can an all-over print run across a seam?
Yes. The cloth is printed before it is cut, so the design carries across seams instead of stopping at them. How precisely a pattern lines up either side of a seam is a design and cutting question worth sampling first.
Do I need a seamless repeat pattern for all-over print?
Only if the design tiles. A pattern that runs continuously across the fabric needs a seamless repeat; a one-off panel illustration sized to the garment does not.
Which lasts longer in the wash?
That’s decided by the print method, not the coverage. Reactive dye bonds inside cotton fibre, so there’s no surface layer to crack or fade — colour typically holds 600+ wash cycles. Surface methods leave a layer on top, and that layer is what eventually fails.
Is all-over print harder to get right first time?
It asks more of the artwork, because you’re designing a whole panel rather than one graphic. That’s why we credit the cost of a Sample Pack against your first order — you see how your design resolves on the actual base before committing to a run.
Still deciding? The reactive print guide covers how the process works end to end, from artwork to finished garment. If you’d like a second opinion on which approach suits a specific product, talk to our team — or order a single piece and settle it that way.