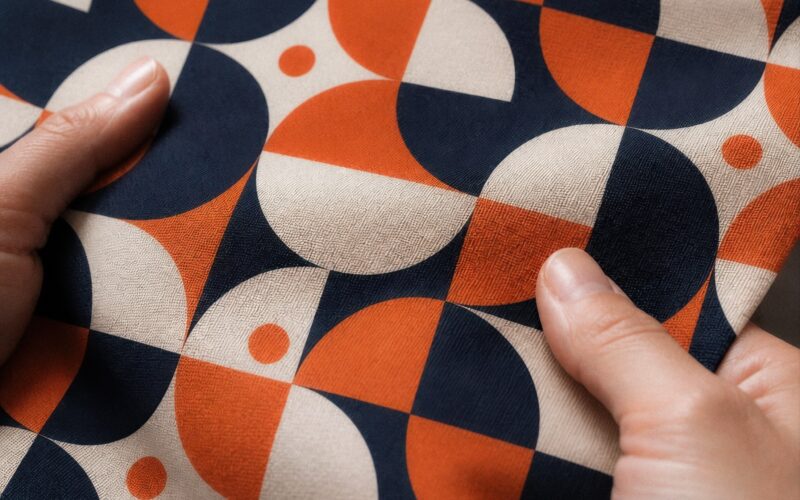












Seamless repeat pattern design means building one rectangular tile whose edges continue perfectly into each other, so that when the tile is repeated across a fabric roll the joins are invisible. Whatever exits the right edge must re-enter the left edge at exactly the same height; whatever exits the bottom must re-enter the top. Get that right and a single tile can cover metres of cloth — get it wrong and the fabric shows a visible grid of seams.
This guide walks through the process in order: choosing a repeat type, building the tile, testing the seams, and sizing everything for real fabric rather than a screen.
Step 1: Choose your repeat type
Before you draw anything, decide how the tile will stack. The three structures you’ll use most:
- Full-drop (block) repeat — tiles sit in a straight grid, edge to edge. The simplest to build, but the grid itself can become visible on large motifs, because every row aligns.
- Half-drop repeat — each column shifts down by half the tile height. The eye finds it much harder to trace rows, so it suits florals, botanical work and organic motifs.
- Brick repeat — each row shifts sideways by half the tile width, like brickwork. A good middle ground for geometric and abstract designs.
There’s no wrong answer, but the choice affects everything downstream — a half-drop tile has different edge maths from a block repeat, so switching structure late usually means rebuilding the tile.
Step 2: Build the tile so the edges wrap
The core technique is the offset test. In your design software, shift the whole tile by half its width and half its height (Photoshop’s Offset filter with “wrap around” does this in one move). The old edges now meet in the centre of the canvas, where every seam problem is plainly visible. Repair the joins there — patch gaps, blend interrupted motifs — then offset back and repeat until no seam shows at any position.
A few habits make this easier:
- Keep hero motifs away from the edges while you rough out the layout; let smaller filler elements do the wrapping work.
- Work at final physical size from the start. Scaling a finished tile up later softens detail; scaling down crowds it.
- Vary spacing and rotation of repeated elements inside the tile, so the repeat reads as organic rather than stamped.
Step 3: Watch for tramlines
Zoom out until you can see at least nine tiles at once. Diagonal “tramlines” — unintended stripes or channels that appear only when the tile repeats — are the most common seamless-pattern fault, and they’re invisible at single-tile zoom. If you spot one, find the elements that line up across tile boundaries and nudge them off-axis. This is also the moment to check that no motif repeats so regularly that the pattern develops an accidental grid.
Step 4: Size it for fabric, not for the screen
Printed fabric has fixed physical constraints that a screen never shows you. Reactive printing runs on fabric rolls roughly 150–200 cm wide, and artwork should resolve at around 200–300 DPI on the finished textile. So a tile that looks generous on a monitor can repeat far more often across a roll than you expect — always note your tile’s real-world dimensions in centimetres, and preview the repeat at the size of the product you’re making. A 10 cm motif reads very differently on a cushion than across a duvet cover.
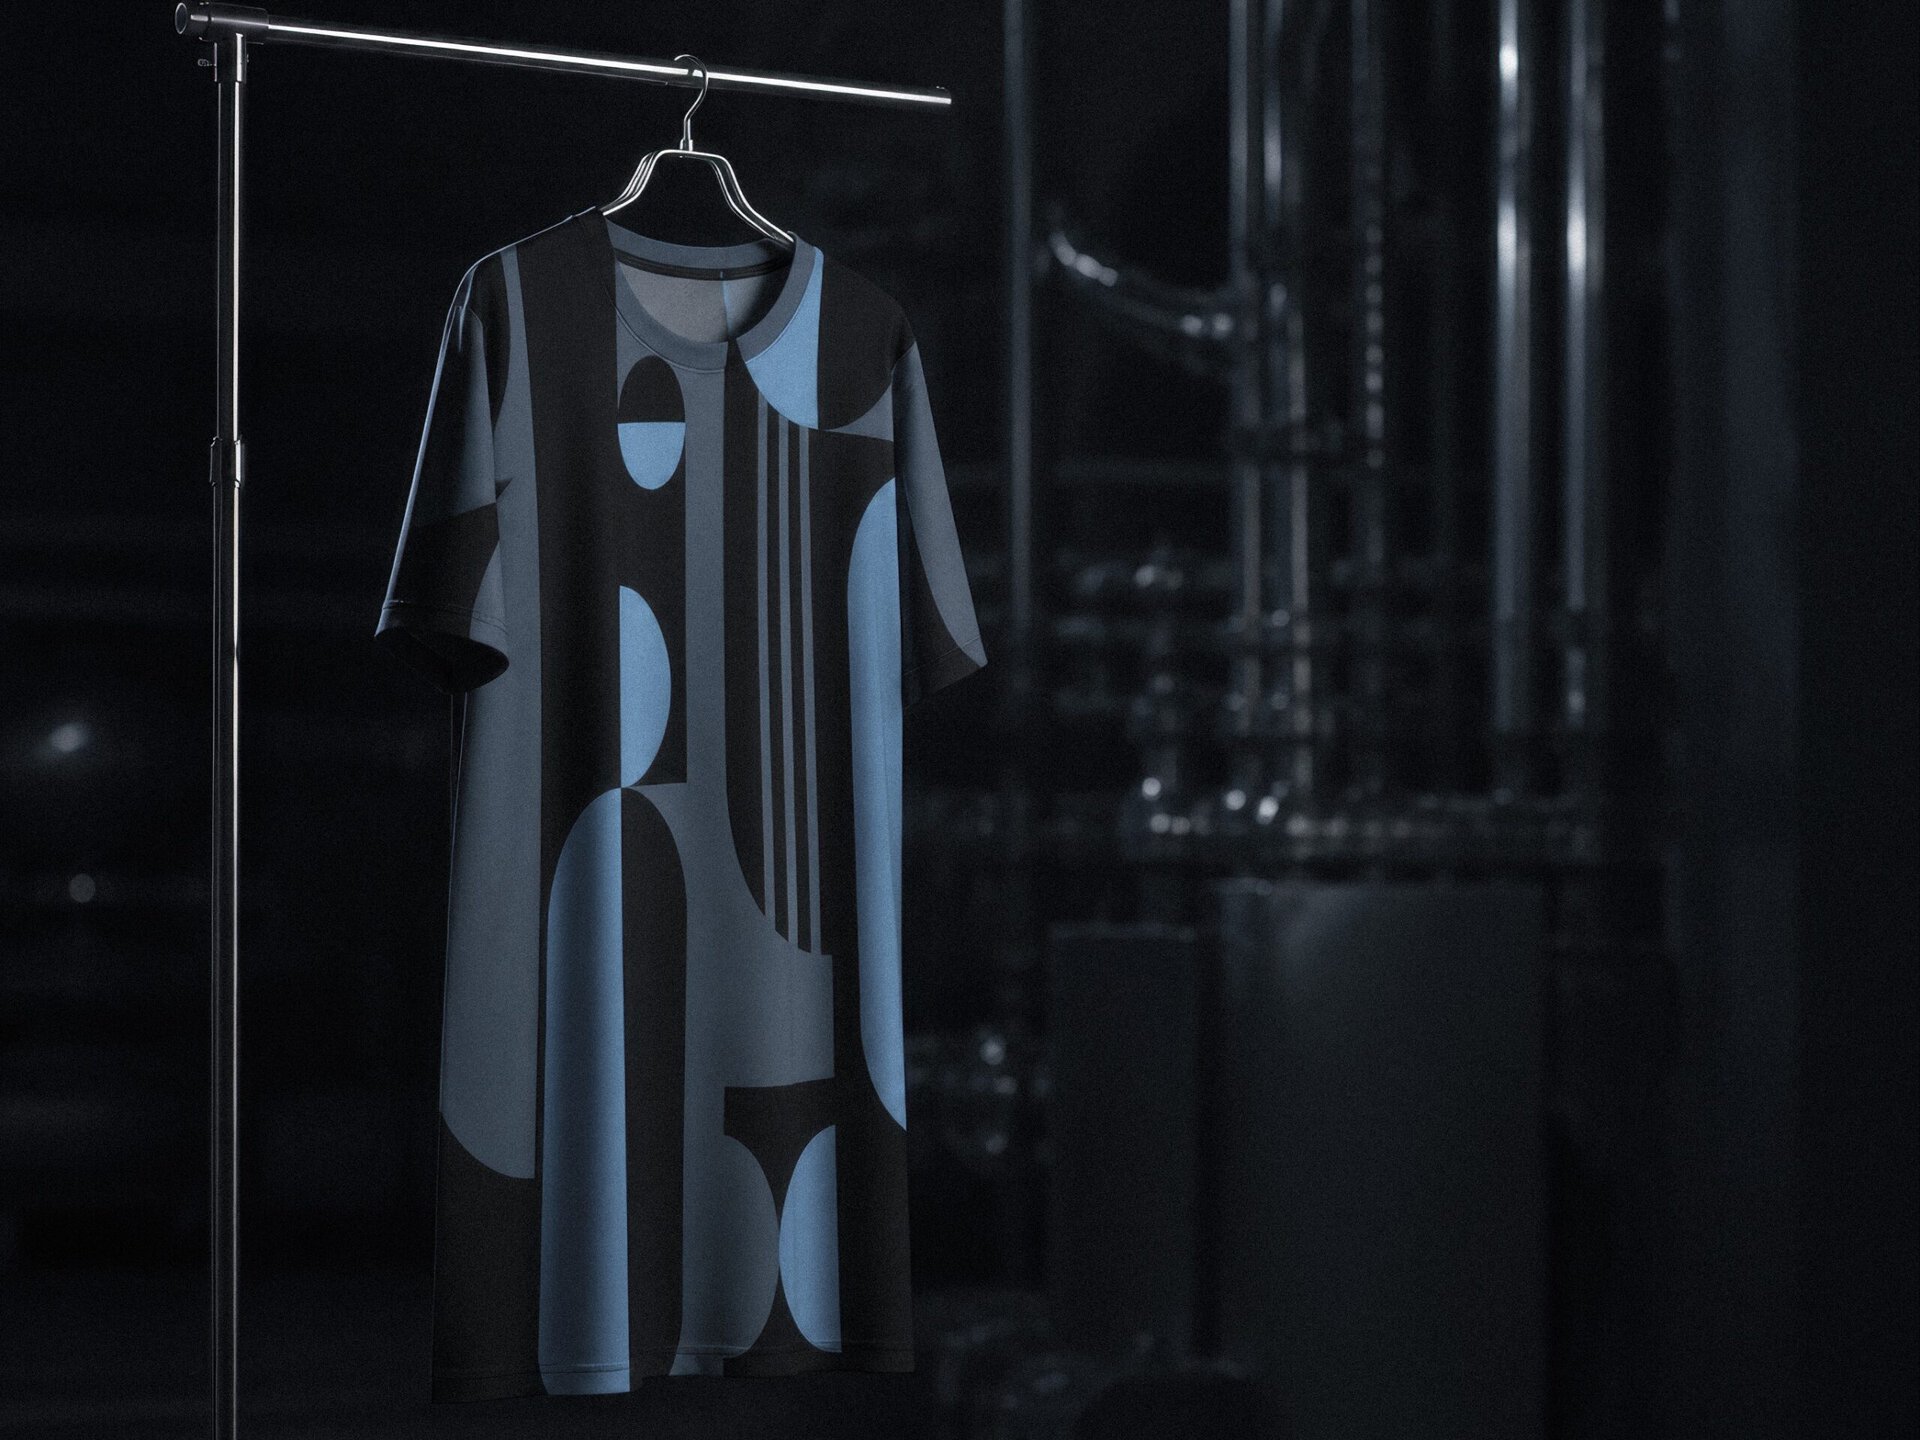
If the pattern is destined for garments rather than fabric by the metre, remember that all-over print panels are printed before cut-and-sew — your repeat flows edge to edge across front, back and sleeves, so the scale needs to work at panel level, not just as an abstract tile.
Step 5: Design for the base you’ll print on
The same repeat resolves differently on different cotton bases: Percale gives matte clarity, Sateen renders more saturated, Half Panama adds visible texture. Fine linework benefits from a smooth base; painterly patterns can absorb some texture. If you’re unsure, print the tile on more than one base before committing — a Sample Pack covers the standard bases, and its cost is credited against your first order.
Seamless repeat pattern design: the pre-flight checklist
- Repeat type chosen (full-drop, half-drop or brick) and kept consistent throughout.
- Offset test passed — no visible seam with the tile shifted by half width and half height.
- Nine-tile zoom-out checked for tramlines and accidental grids.
- Tile built at final physical size, roughly 200–300 DPI on the finished textile.
- Real-world tile dimensions noted in centimetres and previewed at product scale.
- Base fabric chosen — or sampled on more than one base if in doubt.
- File exported as PDF, TIFF, JPG or PNG.
Send that file as it is — Fabrixa’s team prepares the correct print files from your artwork, so you don’t need special production software or plug-ins.
FAQ
What file format should a repeat pattern be?
PDF, TIFF, JPG or PNG all work. Send the tile at final physical size and Fabrixa creates the production files from your artwork.
Do I need special software to make a seamless repeat?
No. Any editor with an offset or wrap function — Photoshop, Affinity, Procreate and most vector tools — can build and test a seamless tile.
What’s the difference between a half-drop and a brick repeat?
A half-drop shifts each column down by half the tile height; a brick shifts each row sideways by half the tile width. Both break up the visible grid of a straight block repeat.
How large should my repeat tile be?
There’s no single rule — it depends on the motif and the product. Work at final physical size, keep resolution around 200–300 DPI on the finished textile, and preview the repeat at product scale before printing.
Test it on real cloth
A repeat only proves itself on fabric. Order a printed sample of your tile before scaling up — from one metre, with no minimum order — and check the seams, scale and colour on the actual base. If any term here is new, the textile printing glossary covers it, and if you’d like a second pair of eyes on your repeat before you print, talk to our team.