










All-over print (AOP) is a technique where the whole fabric panel is printed edge to edge before the garment is cut and sewn. Instead of a logo or graphic placed inside a fixed print zone, the pattern covers every part of the finished piece — front, back, sleeves and hood — with no blank panels. Because the fabric is printed on the roll and then cut into shape, AOP lets a design flow across the entire garment rather than sitting in a rectangle on the chest.
That freedom changes how you design. An AOP file is not a placed graphic; it’s artwork built for a panel of cloth. This guide covers what all-over print is, how it differs from placement printing, and the practical rules for setting up files that come out clean.
How all-over print differs from placement printing
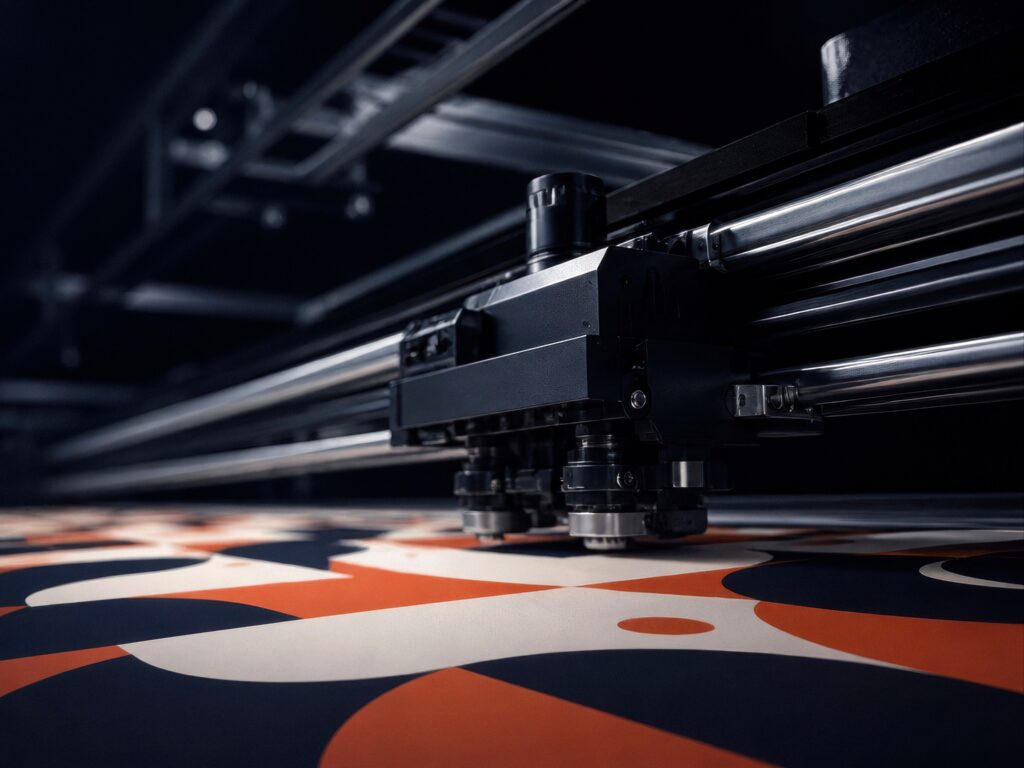
Placement printing (a chest graphic, a back print, a pocket logo) applies ink to a defined area of a finished garment. The blank is made first, then printed. AOP reverses that order: the fabric is printed first, on rolls roughly 150–200 cm wide, and the garment is cut and sewn from the printed cloth afterwards.
The practical upshots:
- No print zone limits. The design reaches the seams, the sleeve edge, the hem — anywhere the pattern is meant to go.
- You design at panel level. Your artwork represents the piece of fabric that becomes the garment, not a stamp dropped onto a blank.
- Repeats and edges matter. Where panels meet at a seam, the pattern behaviour is something you plan for, not an afterthought.
On cotton and linen, Fabrixa produces AOP using reactive printing, where the dye forms a covalent bond with the fibre and becomes part of the cloth. The colour sits in the fibre rather than on top of it, so a fully printed garment still feels like unprinted cotton — no stiff coated panel across the whole piece. Polyester items use sublimation instead, which suits synthetic bases.
Design principles for all-over print
Whether you’re building a bold graphic or a subtle repeat, the same handful of rules keep AOP artwork on track. Use this as a checklist before you send a file:
- Design at panel level, not garment level. Think in terms of the flat fabric panel that gets cut, and how the pattern reads once that panel is shaped into a body, sleeve or hood.
- Work at the right resolution. Aim for roughly 200–300 DPI at the finished size on the garment. Scaling up a small file to fill a panel introduces softness and visible pixels; build the artwork large from the start.
- Plan for seams. A pattern will not line up perfectly across every seam, and that’s normal for cut-and-sew. Decide which alignments matter, keep critical detail away from seam lines, and avoid placing a single focal element exactly where two panels join.
- Mind the bleed. Extend your artwork past the panel edges so cutting tolerances never leave an unprinted sliver at a seam or hem.
- Watch scale and repeat. A motif that looks right on screen can read very differently at garment size. If you’re using a repeating pattern, make sure the repeat tiles cleanly with no obvious seams or gaps.
- Choose your fabric base deliberately. Reactive colour resolves differently on different cotton weaves — a percale gives matte clarity, a sateen renders more saturated, a half panama shows texture. Pick the base that flatters your artwork.
- Design in the right colour space and export cleanly. Keep files high-resolution, flatten deliberately, and supply artwork the way your production partner asks for it so nothing shifts on the way to print.
File setup: what to send
The cleanest AOP results come from files built to the panel from the outset. A few specifics:
- Size: build the canvas to the finished panel dimensions, plus bleed, at 200–300 DPI. Don’t rely on upscaling.
- Format: a print-ready file — a high-resolution PDF or the format your partner specifies — keeps quality intact. Vector artwork scales without loss; raster artwork must be built large.
- Layers: flatten intentionally and remove anything you don’t want printed, such as guides or reference layers.
- Colour: supply artwork in the colour setup your production partner uses, so what you approve is what comes off the print.
You can build the design yourself and supply a print-ready file, or design directly in Fabrixa Studio and attach it to an order. Either way the order flows the same: connect a store or the API, supply the artwork, and Fabrixa prints, packs and ships it under your brand.
Always sample before you scale
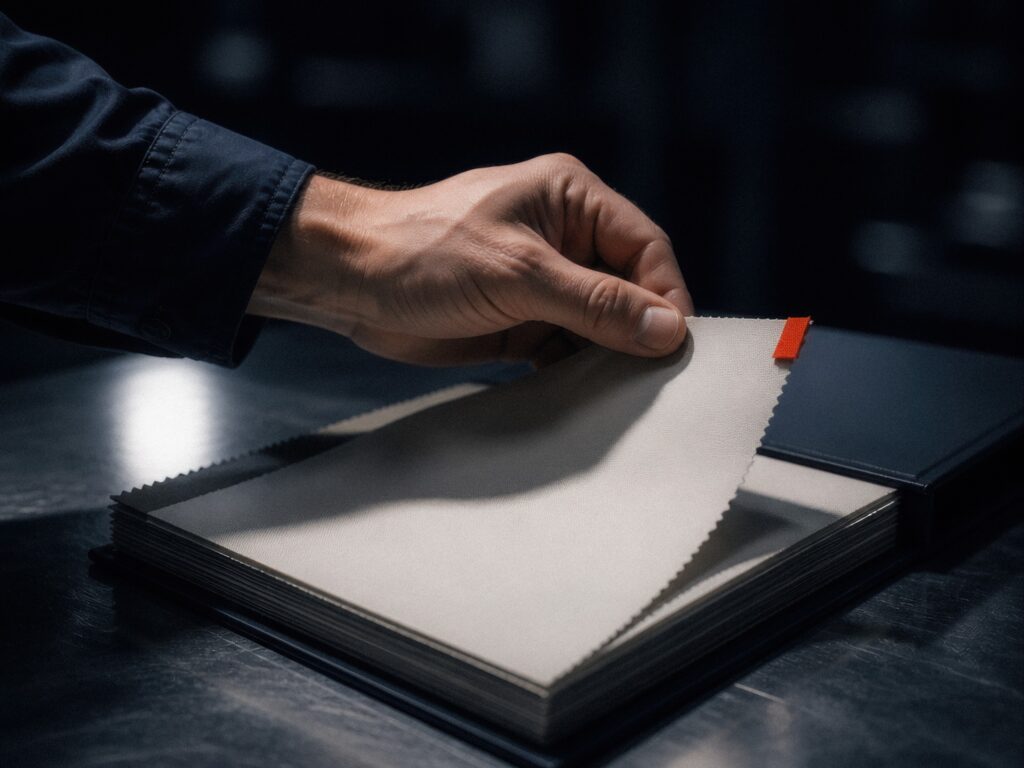
The single most useful habit in AOP is to sample first. Screen colour is not fabric colour, and reactive dye behaves differently across cotton bases. Ordering a sample lets you see how your palette resolves on the real weave, how the scale reads at garment size, and how the pattern sits across seams — before you commit to a full run.
Because there’s no minimum order, a sample is genuinely a run of one. A Sample Pack is a fast way to see how reactive colour resolves across the different cotton bases, and its cost is credited against your first order. From there, scaling from one piece to thousands is the same production path.
Frequently asked questions
Does all-over print feel different to wear?
On cotton and linen, reactive AOP feels like normal cotton because the dye bonds into the fibre rather than coating the surface. There’s no stiff printed layer, even when the whole garment is covered.
Will the pattern line up perfectly across seams?
Not exactly — cut-and-sew joins separate panels, so patterns won’t match seam to seam like continuous fabric. Good AOP design plans around this by keeping key detail away from seams and choosing which alignments matter.
What resolution should my AOP file be?
Aim for roughly 200–300 DPI at the finished size on the garment, built to the panel dimensions plus bleed. Avoid upscaling a small file to fill the panel.
What products can I use all-over print on?
AOP works across cotton and linen apparel — T-shirts, hoodies, sweaters, joggers and more — as well as home textiles like duvet covers and cushions.
Bring your artwork to fabric
All-over print rewards artwork that’s built for the panel and tested before it scales. Start by ordering a Sample Pack to see how your colours resolve on real cotton, read the reactive print guide to understand how the process affects your design, and when you’re ready to plan a run, talk to our team.